DIY to Budget Humidifiers: Easy Room Moisture Solutions
Struggling with dry air in your home can be a real discomfort, especially during those chilly winter months or in arid climates. I’ve been there, and I know how it can wreak havoc on your skin, respiratory system, and overall comfort. But fret not! I’m about to dive into a treasure trove of DIY ideas and budget-friendly options to help you humidify your room without breaking the bank.
From simple hacks that utilize household items to clever devices that won’t cost you an arm and a leg, I’ve got you covered. You’ll be surprised at how easy it is to create a more comfortable living space with just a few tweaks. So, stick with me, and let’s transform your arid abode into a cozy, moisture-rich haven.
Why Humidifying Your Room is Important
Maintaining the right level of humidity in a room isn’t just about comfort; it’s essential for your health and the well-being of your home. During the colder months, especially, heated indoor air can become dry, causing a variety of unpleasant symptoms. I’ve experienced chapped lips, dry skin, and a persistent cough, all because the humidity level dipped too low. It’s not just me; these are common issues many face when the air lacks enough moisture.
Proper humidity levels are crucial for preventing the spread of airborne viruses. Studies indicate that viruses, like the common cold and influenza, thrive in low humidity conditions. By keeping your room properly humidified, You’re Creating a Less Hospitable Environment for These Germs to survive. This means not only are you more comfortable, but you’re also potentially reducing your risk of catching certain illnesses.
For those with respiratory issues such as asthma or allergies, dry air can exacerbate symptoms, making it difficult to breathe comfortably. I’ve witnessed friends struggling with aggravated asthma during dry spells. Humid air can help soothe the airways and alleviate discomfort associated with these conditions.
But it’s not just about our health. The longevity of our wooden furniture, musical instruments, and even the integrity of our walls and floors can suffer in dry conditions. As someone who loves my wooden guitar, I’ve seen it warp and lose tune when the room’s too dry. Maintaining a Stable Humidity Level Protects Your Valuables from cracking or warping over time.
In short, the benefits of humidifying your room extend beyond the physical comfort of your living space. It’s about preserving your health, protecting your belongings, and creating an overall more pleasant atmosphere in your home.
As I dive deeper into the topic, I’ll share some inventive ways to achieve this without the need for expensive equipment or complicated installations. Let’s explore some simple DIY solutions and budget-friendly options that can help you maintain the perfect balance of moisture in your home.
DIY Ideas for Humidifying Your Room
When you’re looking to humidify your room without breaking the bank, several DIY strategies can make a significant difference. I’ve found these methods to be both easy and effective, turning my dry room into a comfortable oasis.
Place Water Bowls Near Heat Sources: A simple bowl of water can act as an impromptu humidifier when placed near a heat source. The warmth expedites evaporation, adding moisture to the air. To maximize this effect, I use ceramic or metal bowls since they’re good conductors of heat.
Damp Towel Over a Radiator: Hanging a damp towel or cloth over a radiator is a method I frequently rely on, especially during those cold, dry winter months. Ensure the towel doesn’t completely dry out, and you’ll notice an improvement in your room’s humidity levels.
Indoor Plants: Indoor plants are a beautiful and natural way to improve air quality and increase humidity. Through a process called transpiration, plants release moisture into the air. I’ve curated a selection of humidity-improving plants such as:
- Spider plants
- Peace lilies
- Snake plants
Use Your Bathroom: After a hot shower, I leave the bathroom door open, allowing the steam to disperse into adjacent rooms. This provides a temporary humidity boost.
DIY Pebble Tray: I’ve also had great success with a pebble water tray. Fill a tray with small stones and water, and place it underneath or near your heating system. The evaporation off the stones adds moisture without any noise or energy consumption.
Cooking and Boiling Water: I often take advantage of the steam released while cooking. Boiling water on the stove or using a kettle releases steam, and by leaving the lid off pots while cooking, you increase the indoor humidity.
By incorporating these simple DIY humidifying techniques, I’ve experienced obvious improvements in my home’s comfort levels and have managed to keep my indoor air quality in check. It’s all about using what’s readily available to create a more balanced and pleasant living environment.
Using Household Items for Humidification
Turning your home into a comfortable oasis doesn’t require a hefty investment or a run to the store for a shiny new gadget. In fact, I’ve found that common household items can be repurposed to effectively increase the moisture levels in the air, which is a boon for both health and comfort.
- Room Ventilation: I ensure rooms are well-ventilated especially when trying to raise humidity. Proper air circulation prevents condensation buildup which can lead to mold.
- Vases: I’ve repurposed vases to serve as humidifiers by filling them with water and placing them around the room. They double as decoration and humidifying agents.
- Cooking on the Stovetop: Each time I cook pasta or boil vegetables, I’m also adding moisture to the air. The steam from cooking is an excellent natural humidifier.
- Aqua-filled Centerpieces: Water-filled centerpieces or bowls placed on tables not only catch the eye but also release moisture as the water evaporates.
- Sponge Humidifier: A simple DIY humidifier can be made by wetting a sponge, placing it in a plastic bag with holes, and leaving it out. It’s surprisingly effective.
While exploring these methods, I’ve observed a noticeable difference in my home’s humidity levels. These methods are cost-effective and multifunctional, blending aesthetics with practicality.
Tracking Indoor Humidity
I keep tabs on humidity levels with a hygrometer to ensure they remain in the optimal range of 30-50%. This helps me avoid over-humidifying, which can be just as problematic as air that’s too dry.
| Humidity Level | Comfort Rating |
|---|---|
| Below 30% | Too Dry |
| 30-50% | Optimal Comfort |
| Above 50% | Too Humid |
My home has become a testament to the effectiveness of everyday items in maintaining a comfortable atmosphere. With each new strategy, I’m reminded of the utility of simple, accessible solutions that require nothing more than a bit of creativity and a quick look around the house.
Creative Ways to Add Moisture to Your Room
When looking to add a bit of moisture to your room without breaking the bank, ingenuity is key. I’ve discovered a slew of creative methods to boost humidity levels that are both efficient and budget-friendly.
One approach I find particularly clever is to decorate with air plants. Air plants don’t need soil to grow, and they can actually help to moderate moisture levels in the air. Consider placing a group of these plants together in an area that gets good sunlight, and you’re not just adding greenery but also helping to humidify your space.
Another tip I swear by is to leave the bathroom door open while showering. The steam from the shower acts as a natural humidifier and allowing it to disperse into adjacent rooms can subtly increase humidity. Just be cautious with this method if you have moisture-sensitive fixtures or furniture nearby.
Here are a few more creative solutions for your consideration:
- Drying clothes indoors: Instead of using the dryer, hang your laundry up inside. As the clothes dry, the evaporating water disperses into the air, naturally increasing humidity.
- Indoor water features: Small tabletop fountains aren’t just appealing visually, they also add moisture to the air as water circulates.
- Terrariums or indoor water gardens: Cultivating a small ecosystem within your home can serve a dual purpose — beautifying your space while releasing water vapor into the air.
Remember to keep a balance; you don’t want to introduce too much moisture and end up with condensation issues. Always monitor humidity levels with a hygrometer to ensure you’re maintaining the ideal range for comfort and health. This way, you’ll know for certain that you’re creating the optimal environment for both you and your indoor living space.
Budget-Friendly Options for Humidifying Your Room
When you’re aiming to keep your living space comfortable without breaking the bank, there are a plethora of budget-conscious techniques that I’ve found can make a significant difference. Spray Bottles become a remarkably simple solution. A fine mist sprayed around your room a few times a day adds moisture to the air almost immediately. It’s a tactic that’s not only wallet-friendly but also gives you complete control over the humidity levels in your space.
Natural Evaporators can be another great way to introduce moisture. Placing a bowl of water near your heat sources, like radiators or heating vents, helps the water evaporate and adds humidity to the air. For a more decorative approach, try Wet Cloth Over Fans; dampen a cloth or towel and hang it in front of a box or oscillating fan. As the fan blows, the air circulates through the wet cloth, creating a cooling, moisturizing effect.
Let’s talk House Plants: not only do they beautify your home, but many species naturally release moisture as a part of their respiratory process. Picking the right plants can act as a natural humidifier, plus they help purify the air — it’s a win-win.
Don’t overlook the Power of Bowls and Cups of water strategically placed throughout your room. This is especially effective in areas that receive direct sunlight, which will accelerate the evaporation process, giving you a subtle boost in humidity.
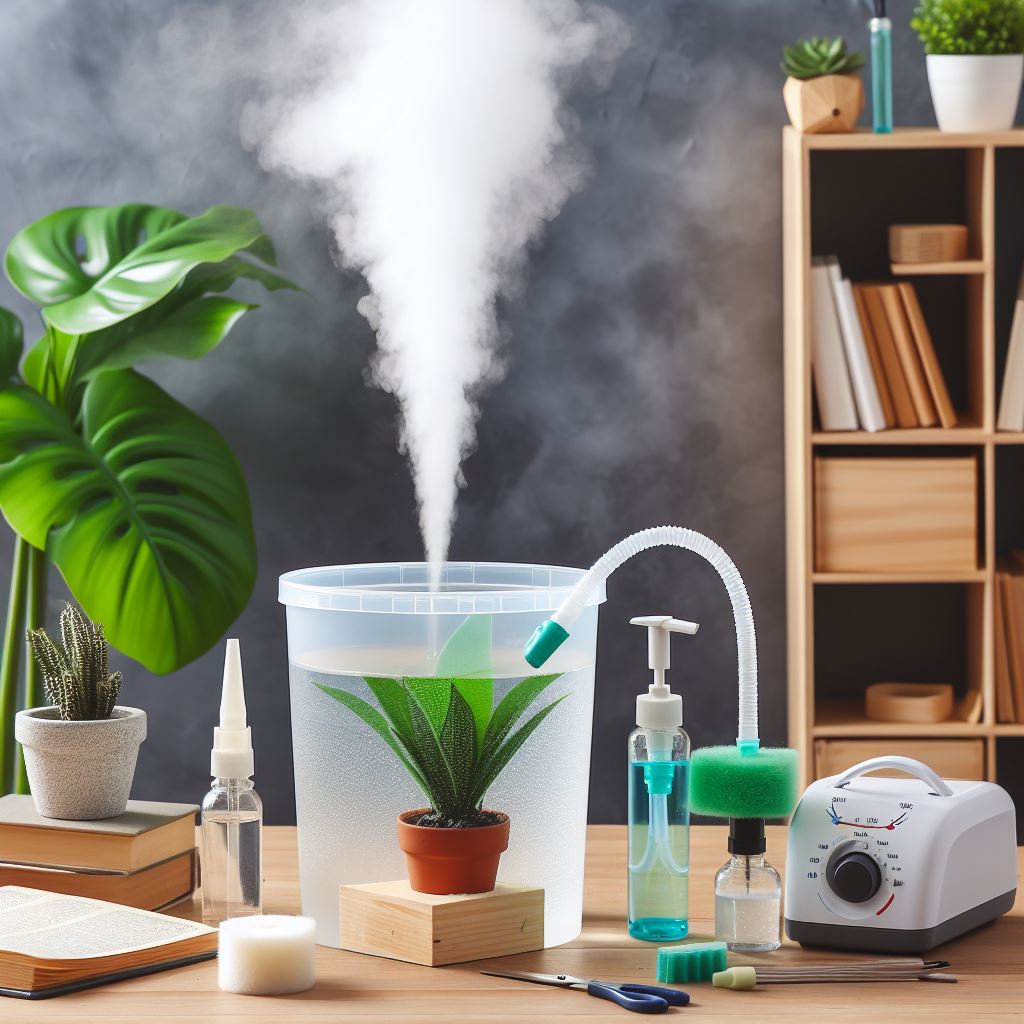
Assembly Required DIY models have gained popularity recently too. There are plenty of online tutorials that can guide you through building your own humidifier using simple items like a fan, a filter, and a container for water. Although it requires a bit of effort, once assembled, the cost savings over time can be considerable.
Each of these strategies has proven to be effective in their own right. Remember, it’s important to use them in moderation to keep your room at an ideal humidity level. Always monitor the effects with a hygrometer, and adjust accordingly to maintain that perfect balance of moisture in the air.
Affordable Devices for Room Humidification
If you’re looking for more reliable alternatives to DIY techniques, the market has a wealth of affordable humidification devices designed to suit different needs and budgets. I’ve discovered some great options that not only come with a modest price tag but are also energy-efficient and user-friendly. Here’s what to look out for when shopping on a budget.
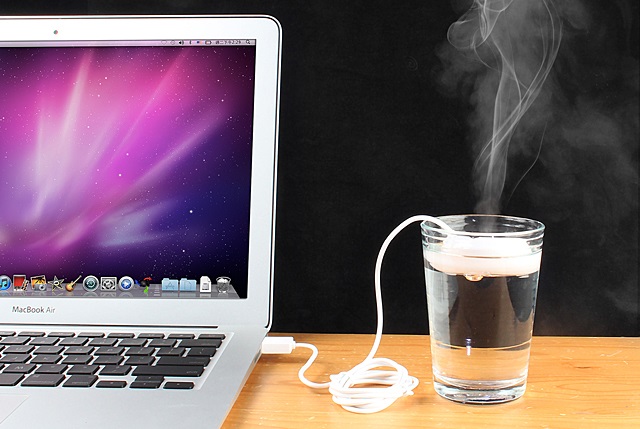
Personal humidifiers are a great way to start. Compact and portable, these units are perfect for small spaces like office desks or bedside tables. They typically use ultrasonic technology, which is both quiet and effective. Look for models that have a USB power option for added convenience.
When I turned my attention to whole-room humidifiers, I found that you don’t have to spend a fortune to get good coverage. Evaporative and ultrasonic humidifiers designed for larger spaces can be surprisingly economical. Brands often differentiate with features such as variable mist settings, low water indicators, and auto shut-off capabilities. Keep an eye out for these features, as they contribute to a better user experience and ensure safety.
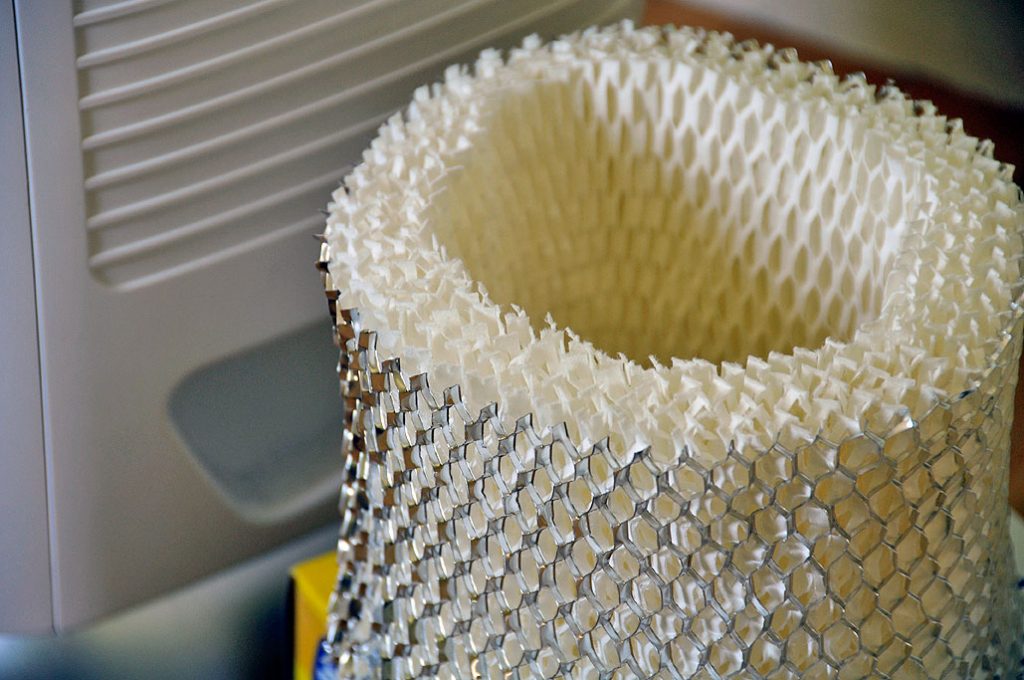
If you’re conscious about energy consumption, evaporative humidifiers tend to use less electricity compared to warm mist models. Although their initial cost might be slightly higher, they can be more cost-effective in the long run.
Here’s a quick table I put together comparing the prices of common humidifier types:
| Humidifier Type | Price Range |
|---|---|
| Personal | $10 – $30 |
| Evaporative | $30 – $100 |
| Ultrasonic | $20 – $150 |
| Warm Mist | $20 – $100 |
Don’t forget to factor in the cost of replacement filters if you’re considering an evaporative model. While they may require periodic purchases, maintaining these devices properly can extend their lifespan, making them a worthwhile investment.
Finally, smart humidifiers are becoming increasingly popular. These devices offer the convenience of app-controlled settings and can be integrated with home automation systems. While some may think smart models are pricey, there are budget-friendly options that come with the necessary features without the hefty price tag.
Conclusion
I’ve walked you through a range of options to boost your room’s humidity from clever DIY hacks to wallet-friendly purchases. Whether you’re sprucing up a cozy corner with a personal humidifier or managing moisture levels in larger spaces, there’s a solution tailored to your needs and budget. Remember to consider the features that matter most to you and don’t overlook the long-term savings that evaporative models offer. With smart humidifiers gaining traction, staying comfortable and in control of your indoor climate has never been easier. Here’s to achieving the perfect balance of moisture in your home—your skin, health, and houseplants will thank you!

